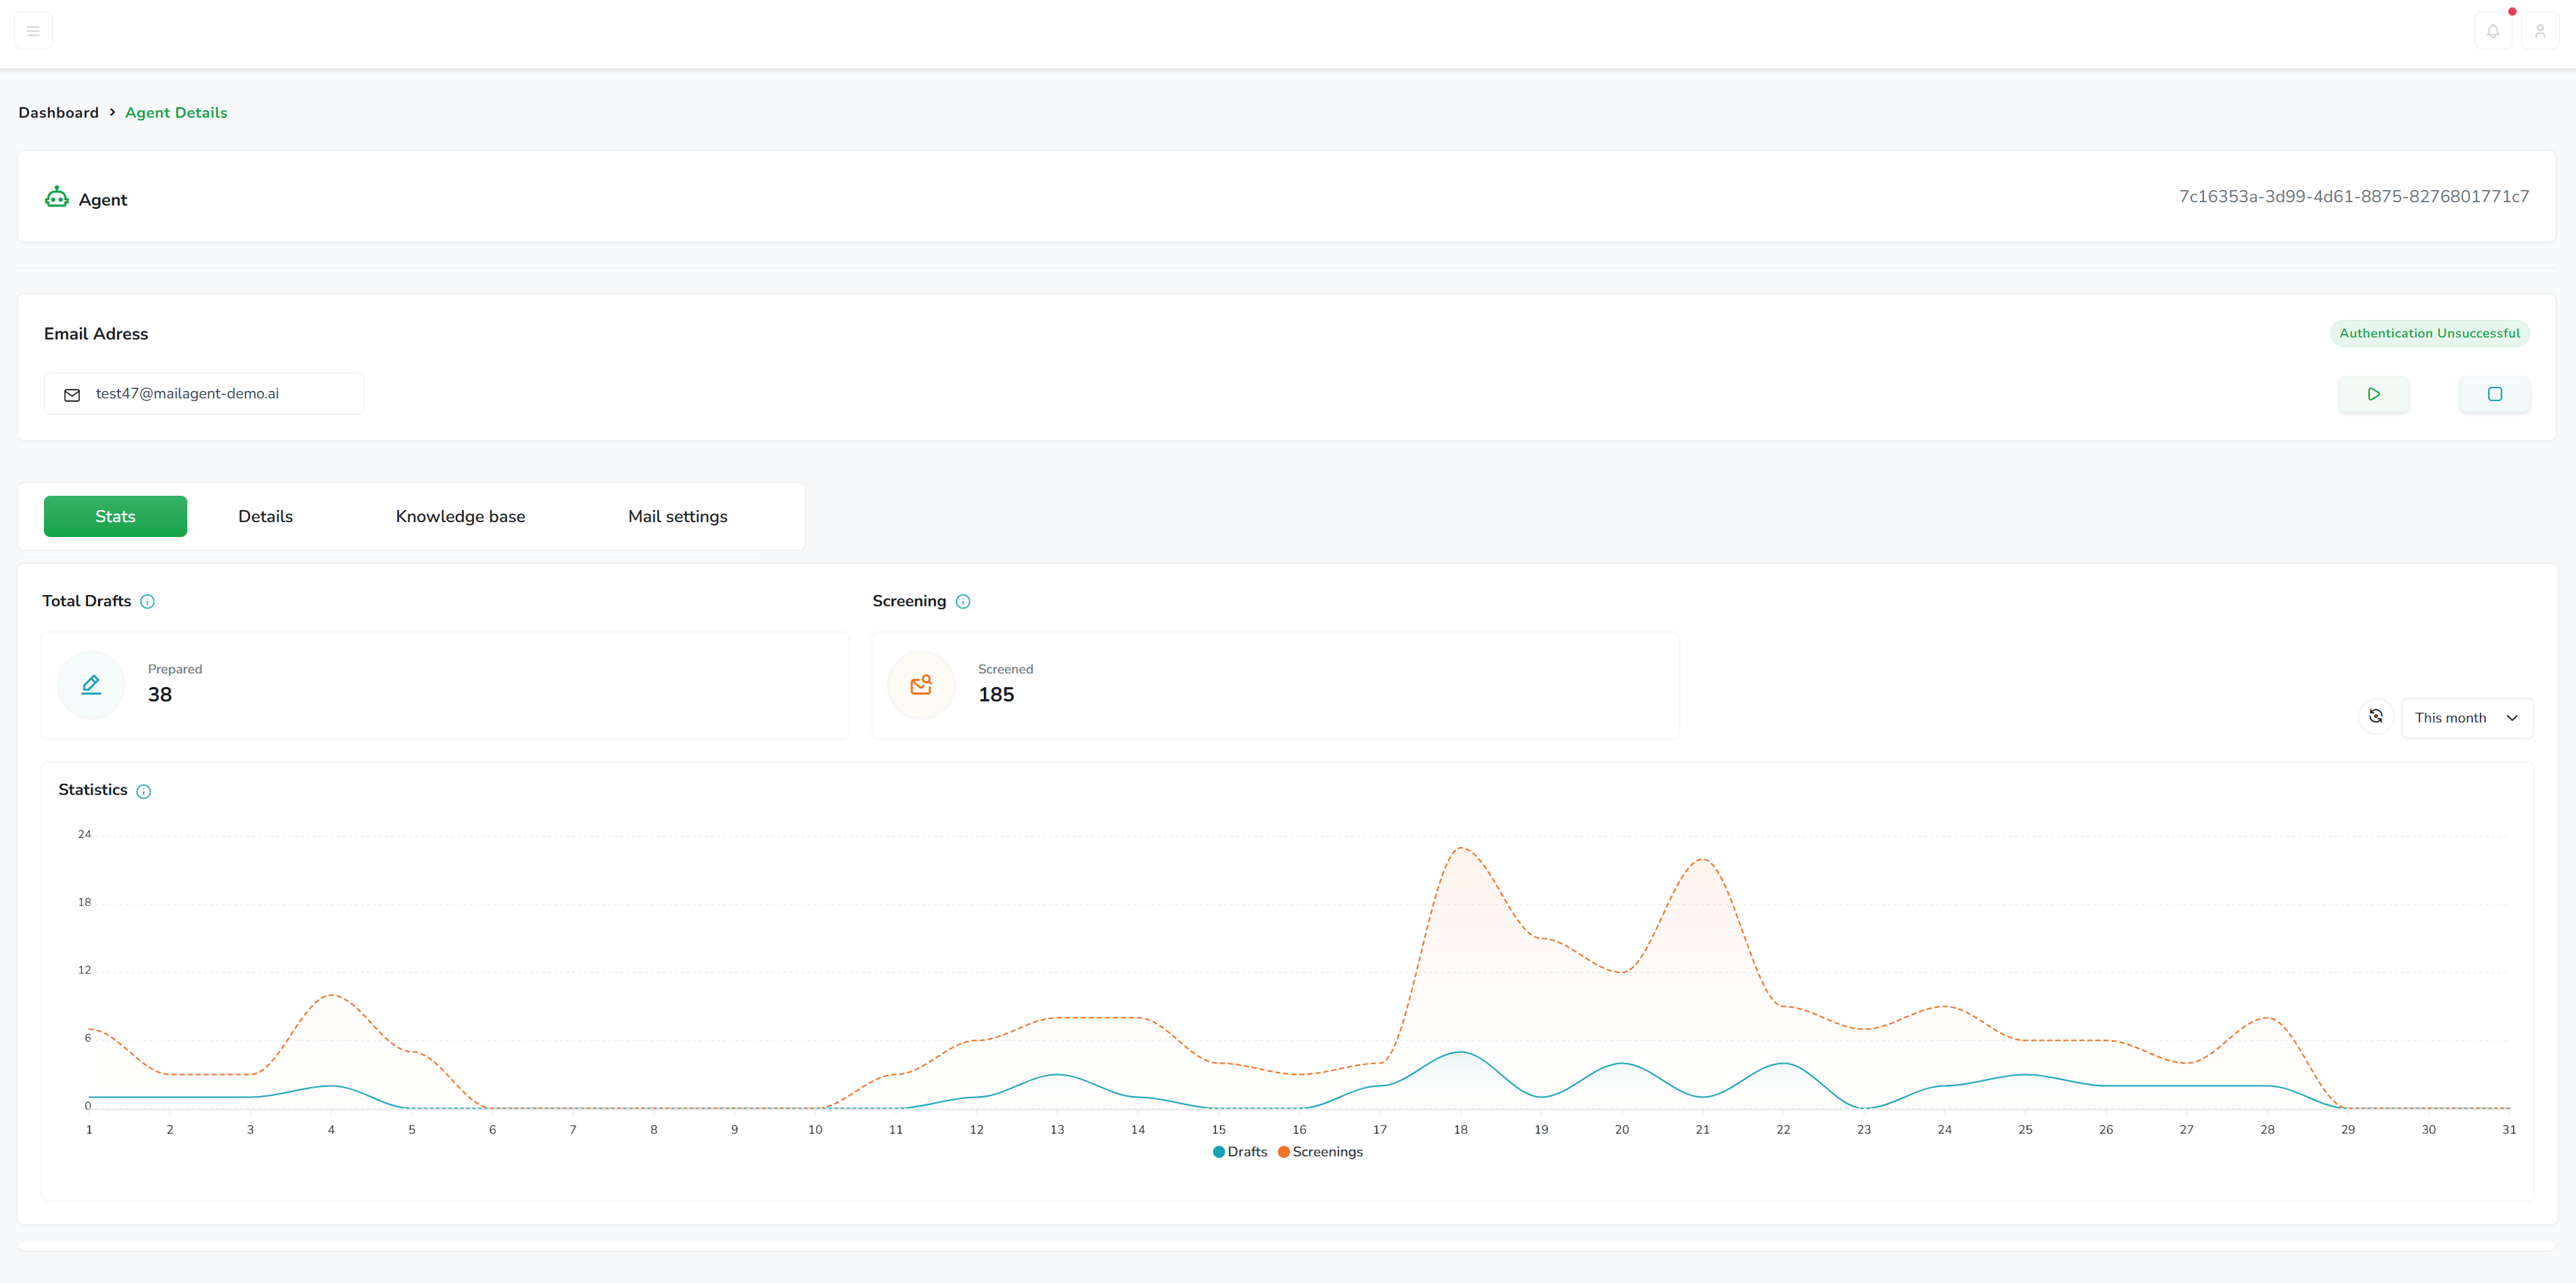
At the top of the Agent Detail page, you'll find the agent header, which includes the unique identifier (ID) of the agent. This ID can be used for administrative tasks and when seeking support, as it helps to precisely identify the agent in question.
This section displays the current status of the agent, such as 'Healthy', 'Starting / Restarting', or 'Authentication Unsuccessful', among others. It gives you a real-time view of the agent's operational state.
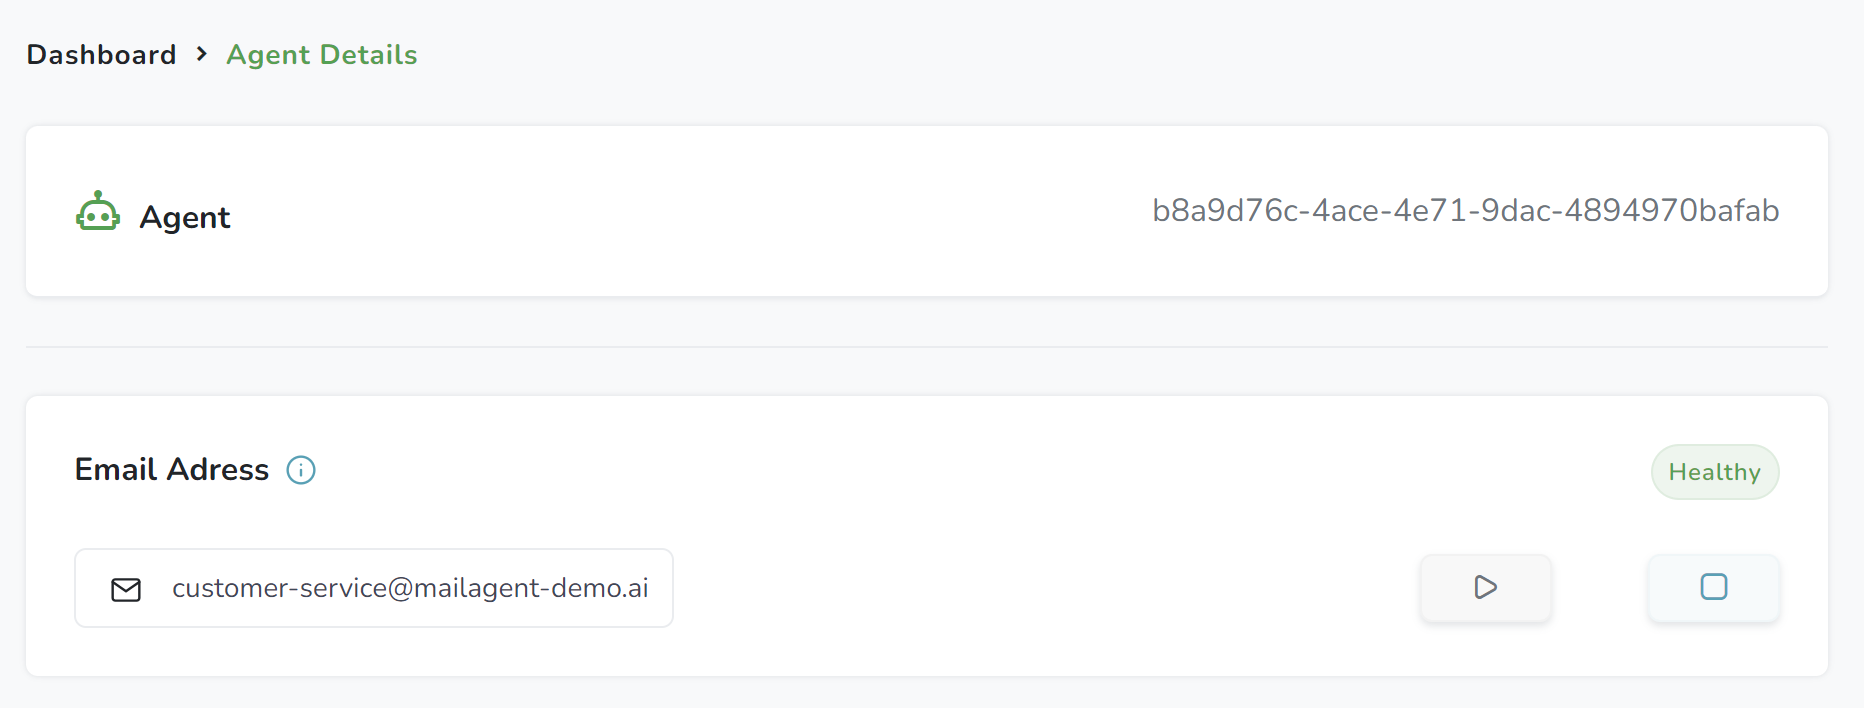
Agent are marked with status indicators, showing whether they're currently active, inactive, or if there's an issue that needs your attention.
Control Buttons:
To the right of the status, there are two control buttons. The play button (triangle icon) is used to activate or resume an agent's operations. Conversely, the pause button (square icon) allows you to temporarily disable the agent without removing it from your account.
The Agent Detail page is organized into tabs, each providing specific types of information or functionality related to the agent:
Stats:
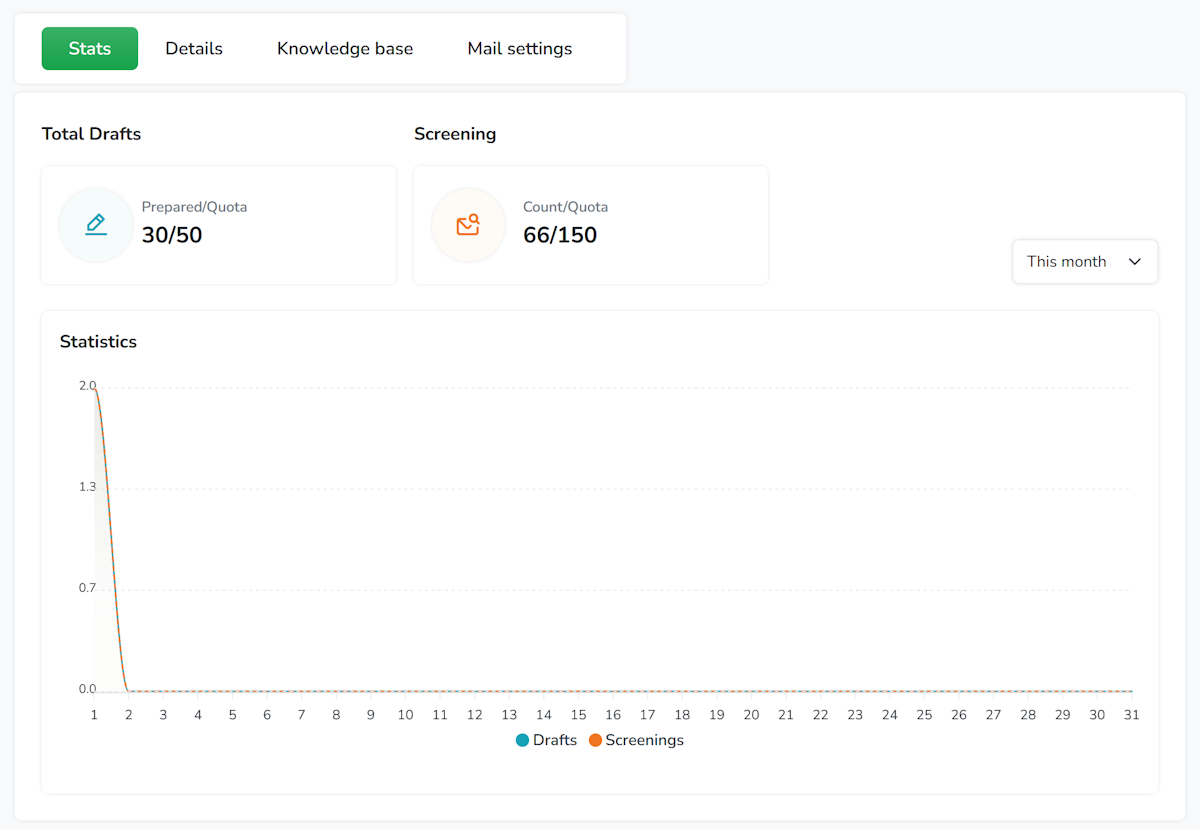
The 'Stats' tab is dedicated to showcasing the performance metrics of a specific AI agent. It features a graph similar to the one on the main dashboard, but the data here is filtered to reflect only the activities of the selected agent. This targeted analysis allows for a detailed review of the agent's efficiency in drafting and screening emails over time.
The performance graph plots the daily activity of the agent, displaying the number of drafts created and screenings performed. This can help you visualize the agent's workload and output.
Hovering over the graph provides precise statistics for each point in time. This enables you to pinpoint specific days where there might have been peaks or dips in activity.
Regularly review the 'Stats' tab to monitor the agent's performance trends. Consistent patterns or changes can indicate the need for adjustments in your email management strategy.
Plan Management: If your agent is frequently hitting or exceeding the quota for drafts or screenings, it may be time to consider upgrading your plan to ensure your email traffic is managed without interruption.
Details:
The 'Details' tab empowers you to calibrate your AI agent's understanding of your business and personalize the drafts it creates. It consists of two primary fields that play a significant role in how your agent screens incoming emails and prepares drafts.
Business Description - This is where you provide a concise description of your business. The AI uses this information to screen incoming emails and to ensure that the drafts it prepares are relevant to your business operations and industry.
Signature Field - The signature you provide here will be automatically appended to all email drafts generated by your AI agent. This should typically include your name, position, company, and contact information, contributing to the professionalism and personal touch of your correspondence.
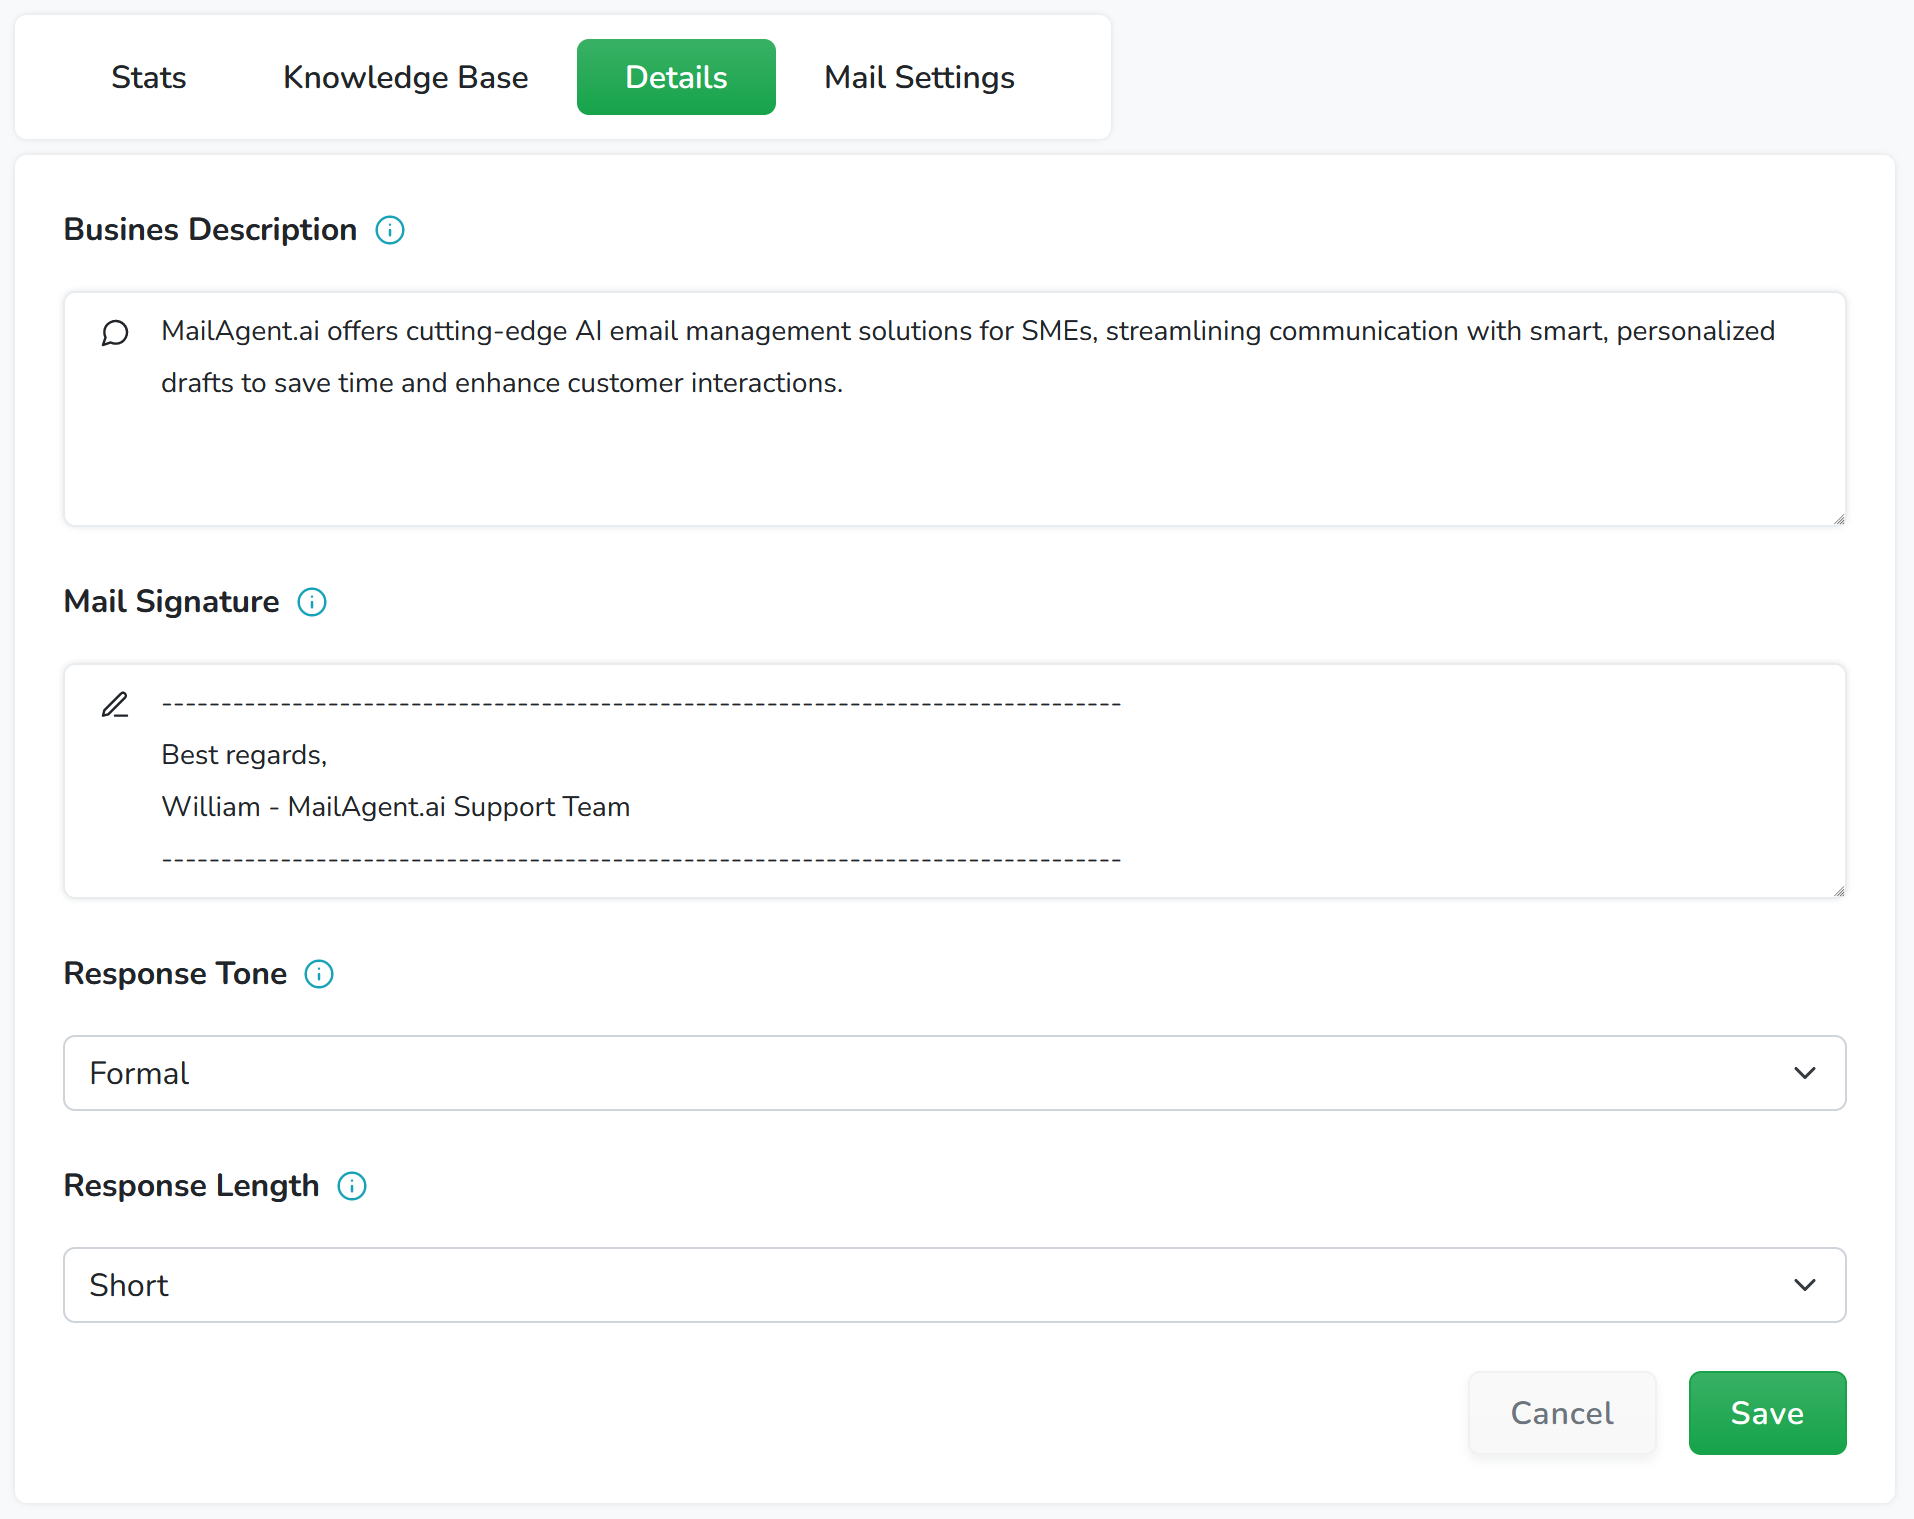
Response Tone - Select the tone for your email draft responses to match your communication style. Possible values include:
Response Length - Choose the desired length for your email responses. Possible values include:
Knowledge Base:
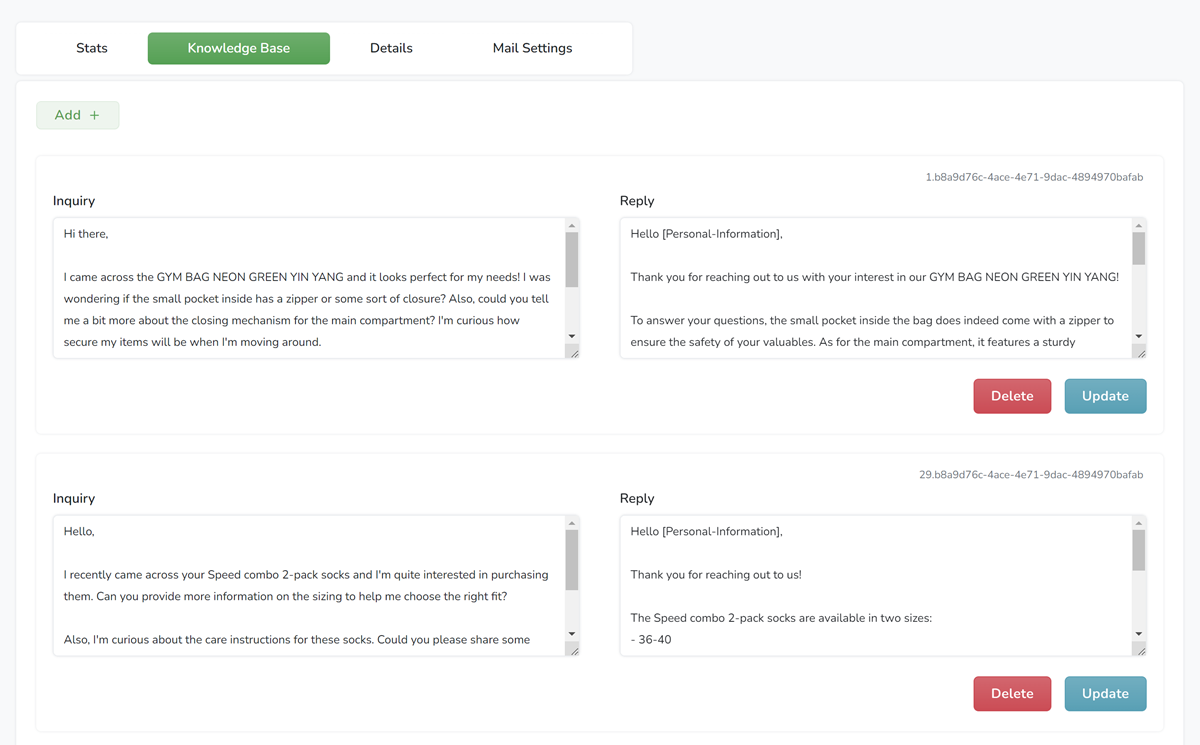
The Knowledge Base tab is crucial as it serves as the foundation for your AI agent's drafting capabilities. By feeding it with high-quality, relevant information, you ensure that your agent can produce accurate and helpful responses.
It consists of pre-set or manually added entries that the AI uses to generate draft replies. Each entry includes an inquiry (question) and the corresponding reply, allowing the agent to understand and respond to similar future inquiries.
Utilizing the Knowledge Base
Adding Entries - Use the 'Add' button to contribute new knowledge entries. Input the common inquiries you receive and the ideal replies that should accompany them.
Reviewing Entries - Scroll through existing entries to review the information your AI agent currently relies on.
Editing Entries - If an entry needs refinement to better match your current services or customer interaction style, use the 'Update' button to modify it accordingly.
Deleting Entries - Should any information become outdated or no longer relevant, you can remove it from the Knowledge Base using the 'Delete' button to prevent the AI from using it in future drafts.
Experience the benefits of our free monthly plan, which offers 200 drafts and 1000 screenings. See how AI can revolutionize your email management with ease!
Mail Settings Tab: Configuring Email Parameters
The 'Mail Settings' tab is where you can configure the technical details of the email account managed by your agent. This includes the username (often the email address itself), password, mail host, mail port, and whether to use TLS encryption. These settings are essential for the agent to access and interact with the email server for sending and receiving emails.
Username Typically, this is the full email address associated with the account the AI agent will manage. In most cases, email servers use the email address as the username for login purposes. Enter this information exactly as it is recognized by your email server.
Password: Input the current password of your email account. The AI agent uses this password to authenticate and access the necessary information from the email server to create accurate drafts based on your incoming emails.

Mail Host and Mail Port: Specify the host and port number of your email server. These details are necessary for the AI agent to connect to the correct server and communicate over the appropriate port.
TLS Toggle: The TLS toggle should be set to reflect the security settings of your mail account. If your email account is configured to use TLS, ensure this setting is enabled here to mirror that configuration and maintain secure communication.
Check and Save: Use the 'Check Mail settings' button to verify the configurations. If the settings are correct, the system will confirm connectivity. Don't forget to save any changes made.
Monitoring and Notifications: Our system continuously monitors the connectivity status of your agent. If it detects an 'Authentication Unsuccessful' status, possibly due to a password change, it will automatically send an email notification to the account's primary email. This alert helps you to take timely action to update the password and restore full functionality.